


Hi there! Today's blog is about how we can create a Hadoop Cluster with Datanode configured as Elastic Storage. So let's start.
Understanding the problem.
Managing disk space has always been a significant task for sysadmins. Running out of disk space used to be the start of a long and complex series of tasks to increase the space available to a disk partition. It also required taking the system off-line. This usually involved installing a new hard drive, booting to recovery or single-user mode, creating a partition and a filesystem on the new hard drive, using temporary mount points to move the data from the too-small filesystem to the new, larger one, changing the content of the /etc/fstab file to reflect the correct device name for the new partition, and rebooting to remount the new filesystem on the correct mount point.
Solution
Answer to all these problems is Elastic Storage. But you may be wondering what is elasticity and elastic storage.
Elasticity : Capacity and performance of any service can expand or contract according to a customer's requirements and that this can potentially be changed automatically as a consequence of some software-driven event or, at worst, can be reconfigured quickly.
Elasticitic Storage: Ability to adjust its storage requirements in terms of capacity and processing concerning operational requirements.
The technology which uses the concept of elasticity and elastic storage is LVM (Logical Volume Manager).
Logical Volume Manager
LVM, or Logical Volume Management, is a storage device management technology that gives users the power to pool and abstract the physical layout of component storage devices for easier and flexible administration. Utilizing the device-mapper Linux kernel framework, the current iteration, LVM2, can be used to gather existing storage devices into groups and allocate logical units from the combined space as needed.
The main advantages of LVM have increased abstraction, flexibility, and control. Volumes can be resized dynamically as space requirements change and migrated between physical devices within the pool on a running system or exported easily. LVM also offers advanced features like snapshotting, striping, and mirroring.
In this guide, we will briefly discuss how LVM works and then demonstrate the basic commands needed to get up and running quickly.
LVM Architecture and Terminology
Before we dive into the actual LVM administrative commands, it is important to have a basic understanding of how LVM organizes storage devices and some of the terminology it employs.
LVM functions by layering abstractions on top of physical storage devices. The basic layers that LVM uses, starting with the most primitive, are.
- Physical Volumes:
LVM utility prefix: pv...
Description: Physical block devices or other disk-like devices (for example, other devices created by device-mapper, like RAID arrays) are used by LVM as the raw building material for higher levels of abstraction. Physical volumes are regular storage devices. LVM writes a header to the device to allocate it for management.
- Volume Groups:
LVM utility prefix: vg...
Description: LVM combines physical volumes into storage pools known as volume groups. Volume groups abstract the characteristics of the underlying devices and function as a unified logical device with a combined storage capacity of the component physical volumes.
- Logical Volumes:
LVM utility prefix: lv... (generic LVM utilities might begin with lvm...)
Description: A volume group can be sliced up into any number of logical volumes. Logical volumes are functionally equivalent to partitions on a physical disk, but with much more flexibility. Logical volumes are the primary component that users and applications will interact with.
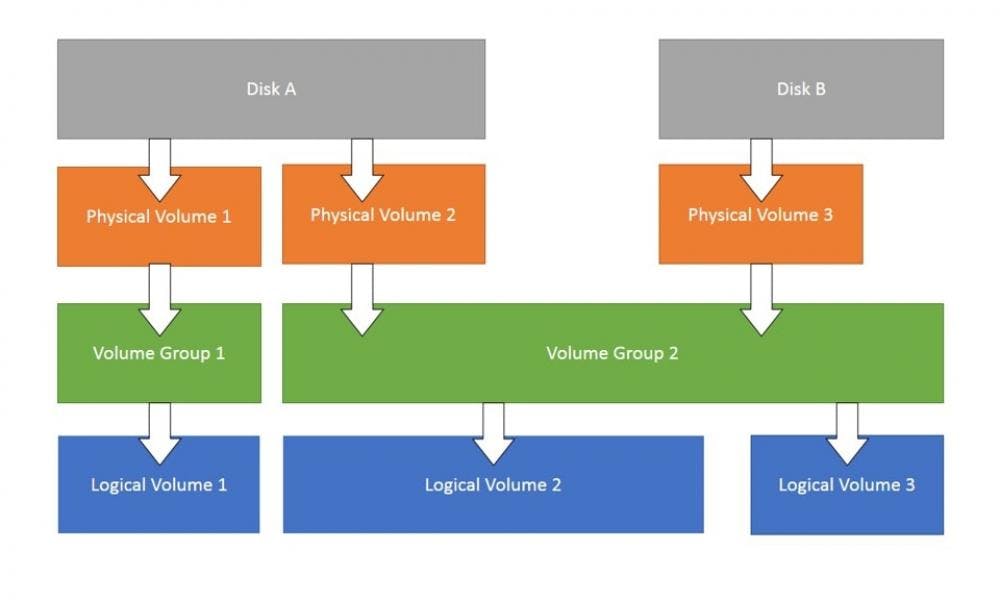
In summary, LVM can be used to combine physical volumes into volume groups to unify the storage space available on a system. Afterwards, administrators can segment the volume group into arbitrary logical volumes, which act as flexible partitions.
Creating and Deploying LVM
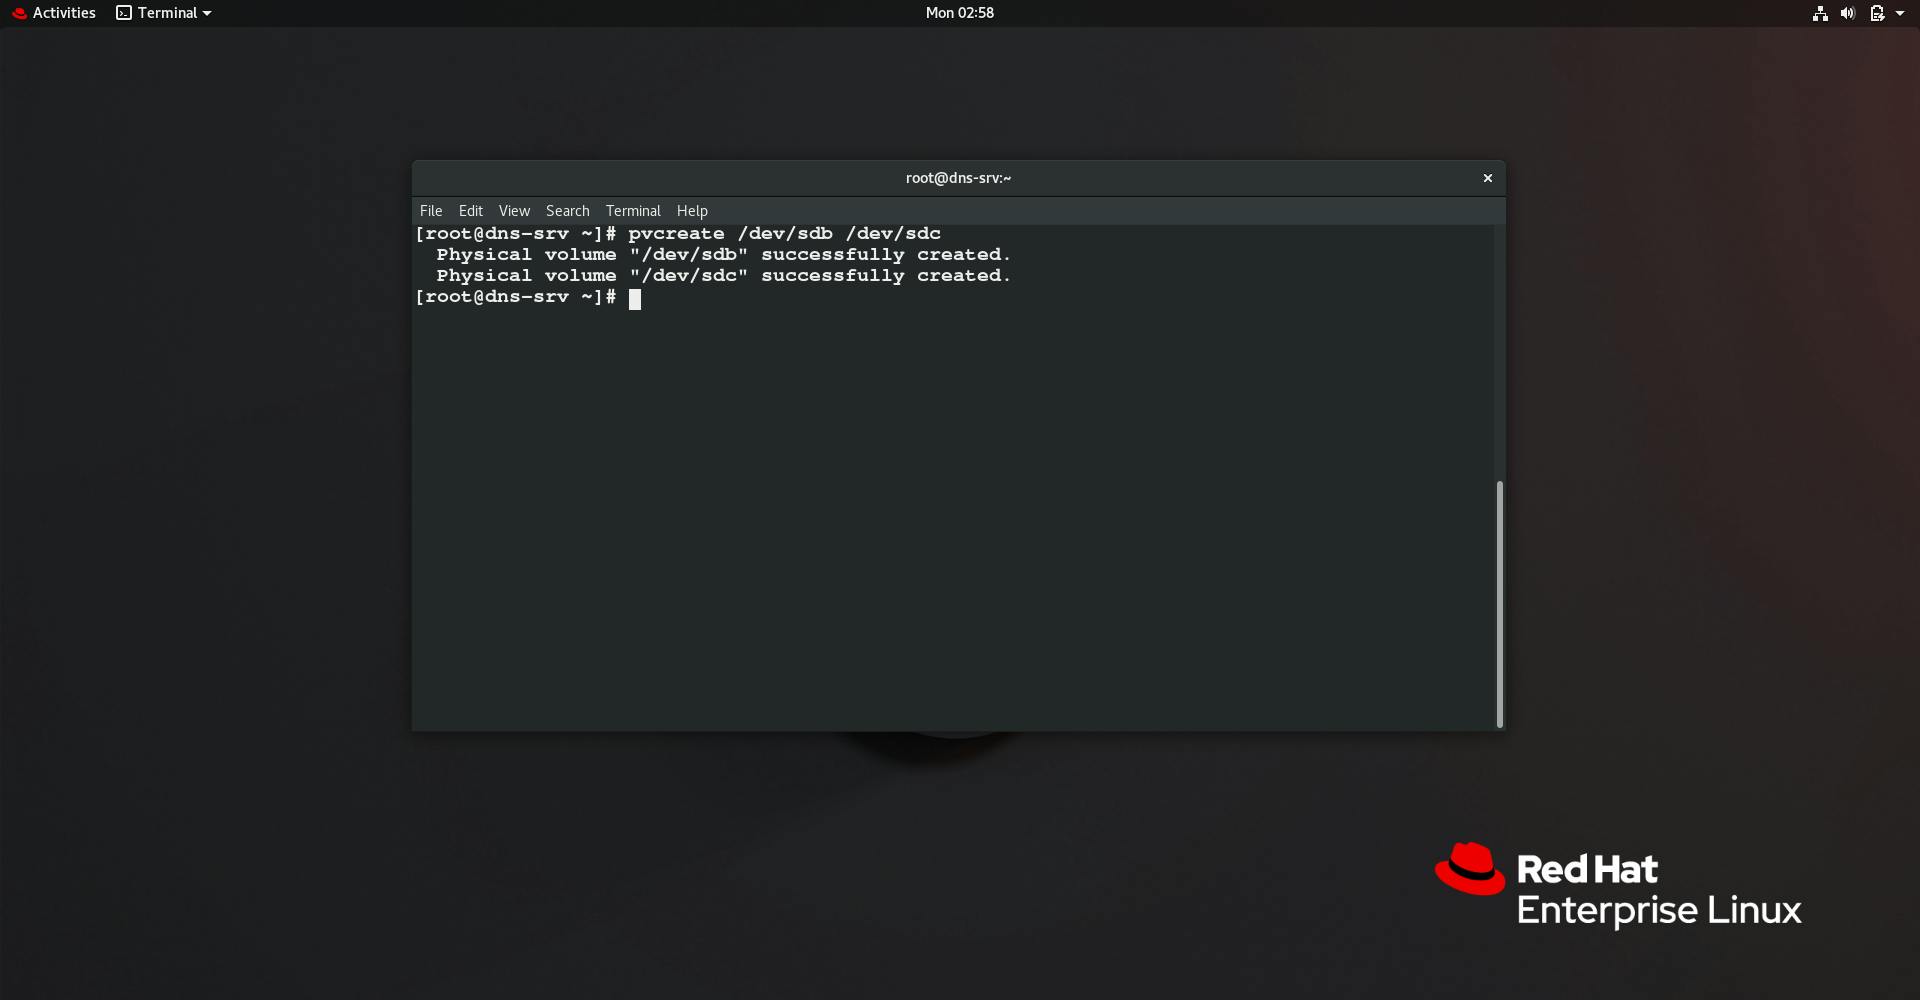
- Create Physical Volumes
pvcreate /dev/sdb /dev/sdc
- Create Volume Group
vgcreate taskvg /dev/sdb /dev/sdc

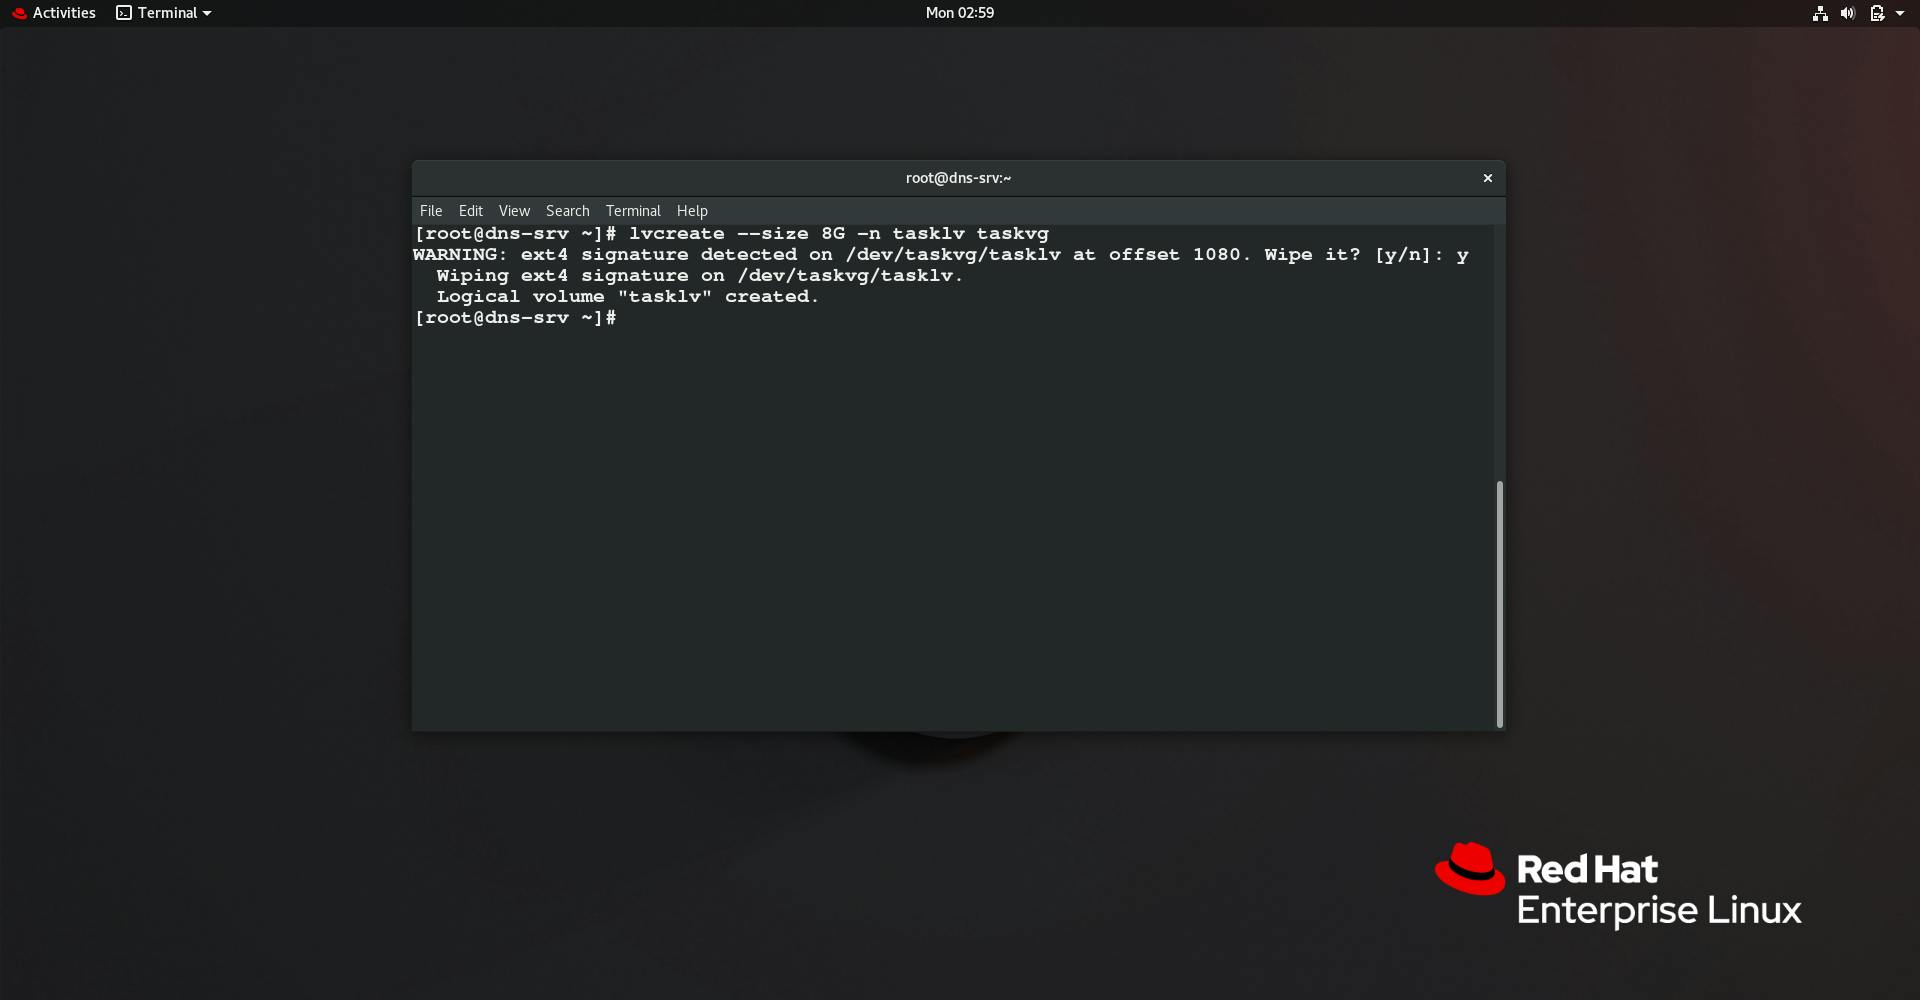
- Create Logical Volume
lvcreate --size 8G -n tasklv taskvg
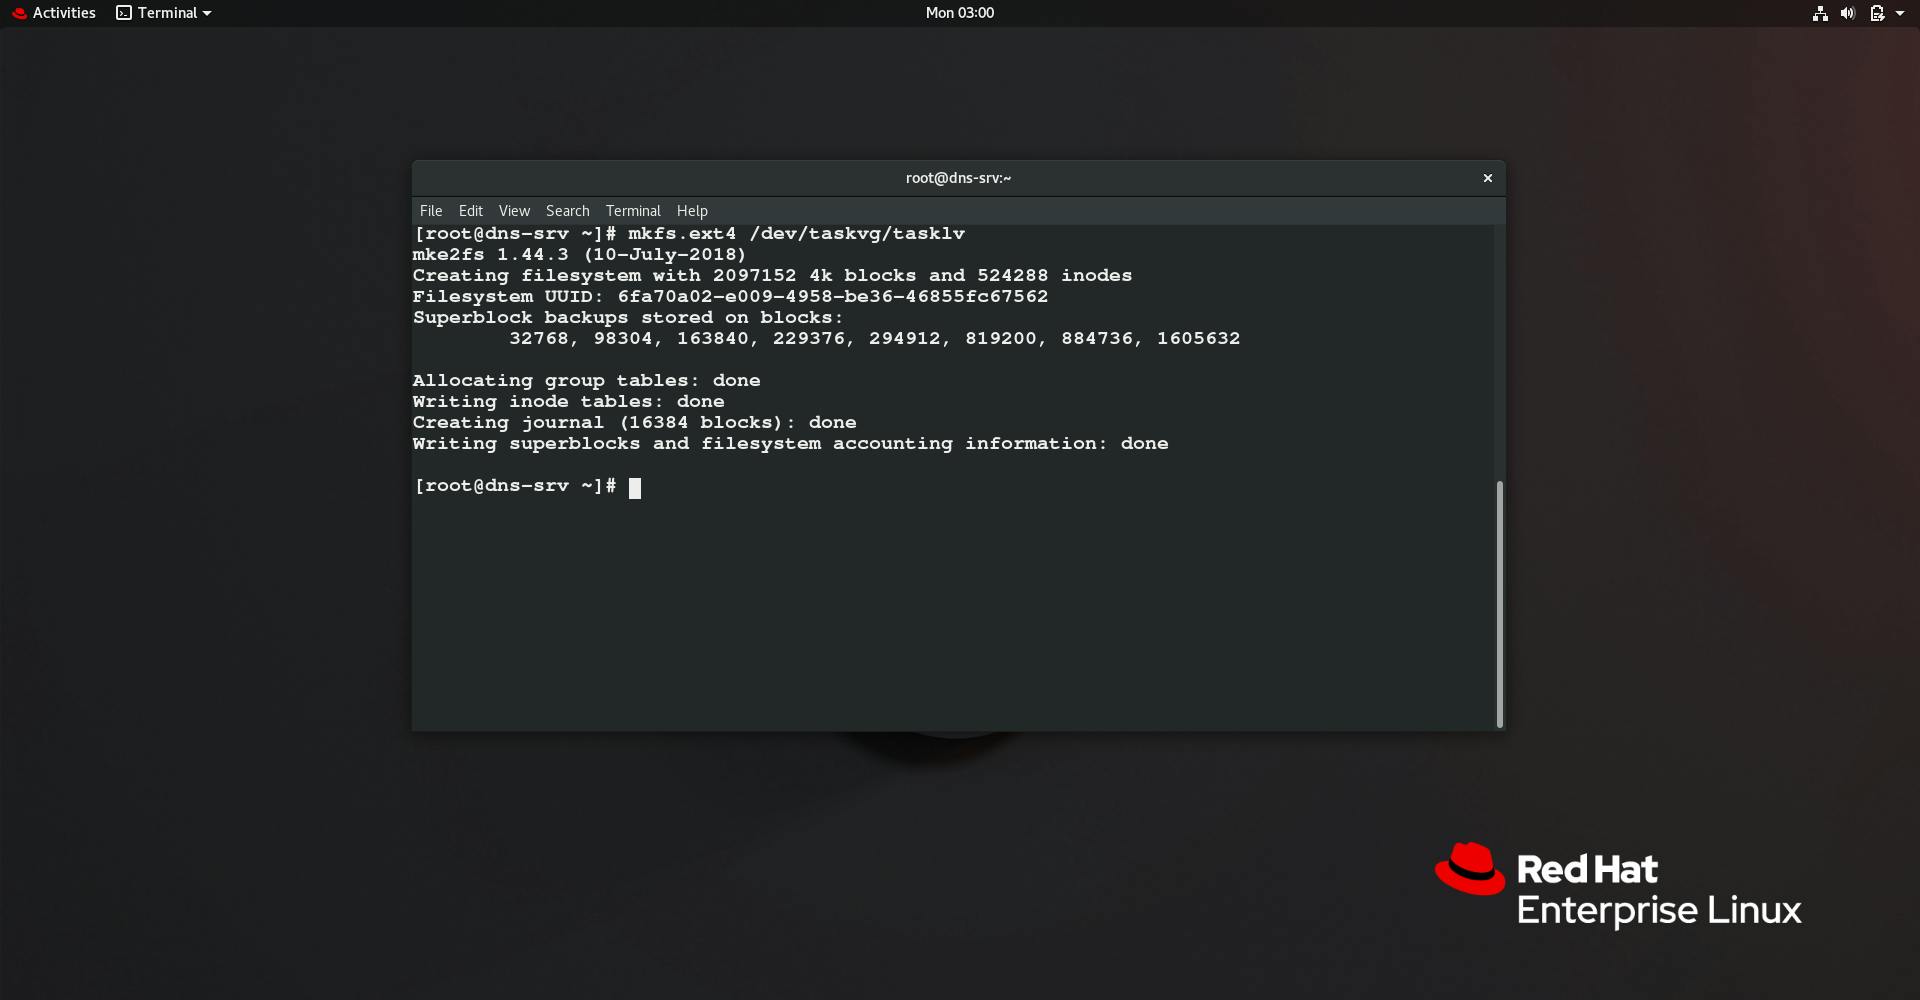
- Format the volume
mkfs.ext4 /dev/taskvg/tasklv
- Mount the volume
mount /dev/taskvg/tasklv /taskdir

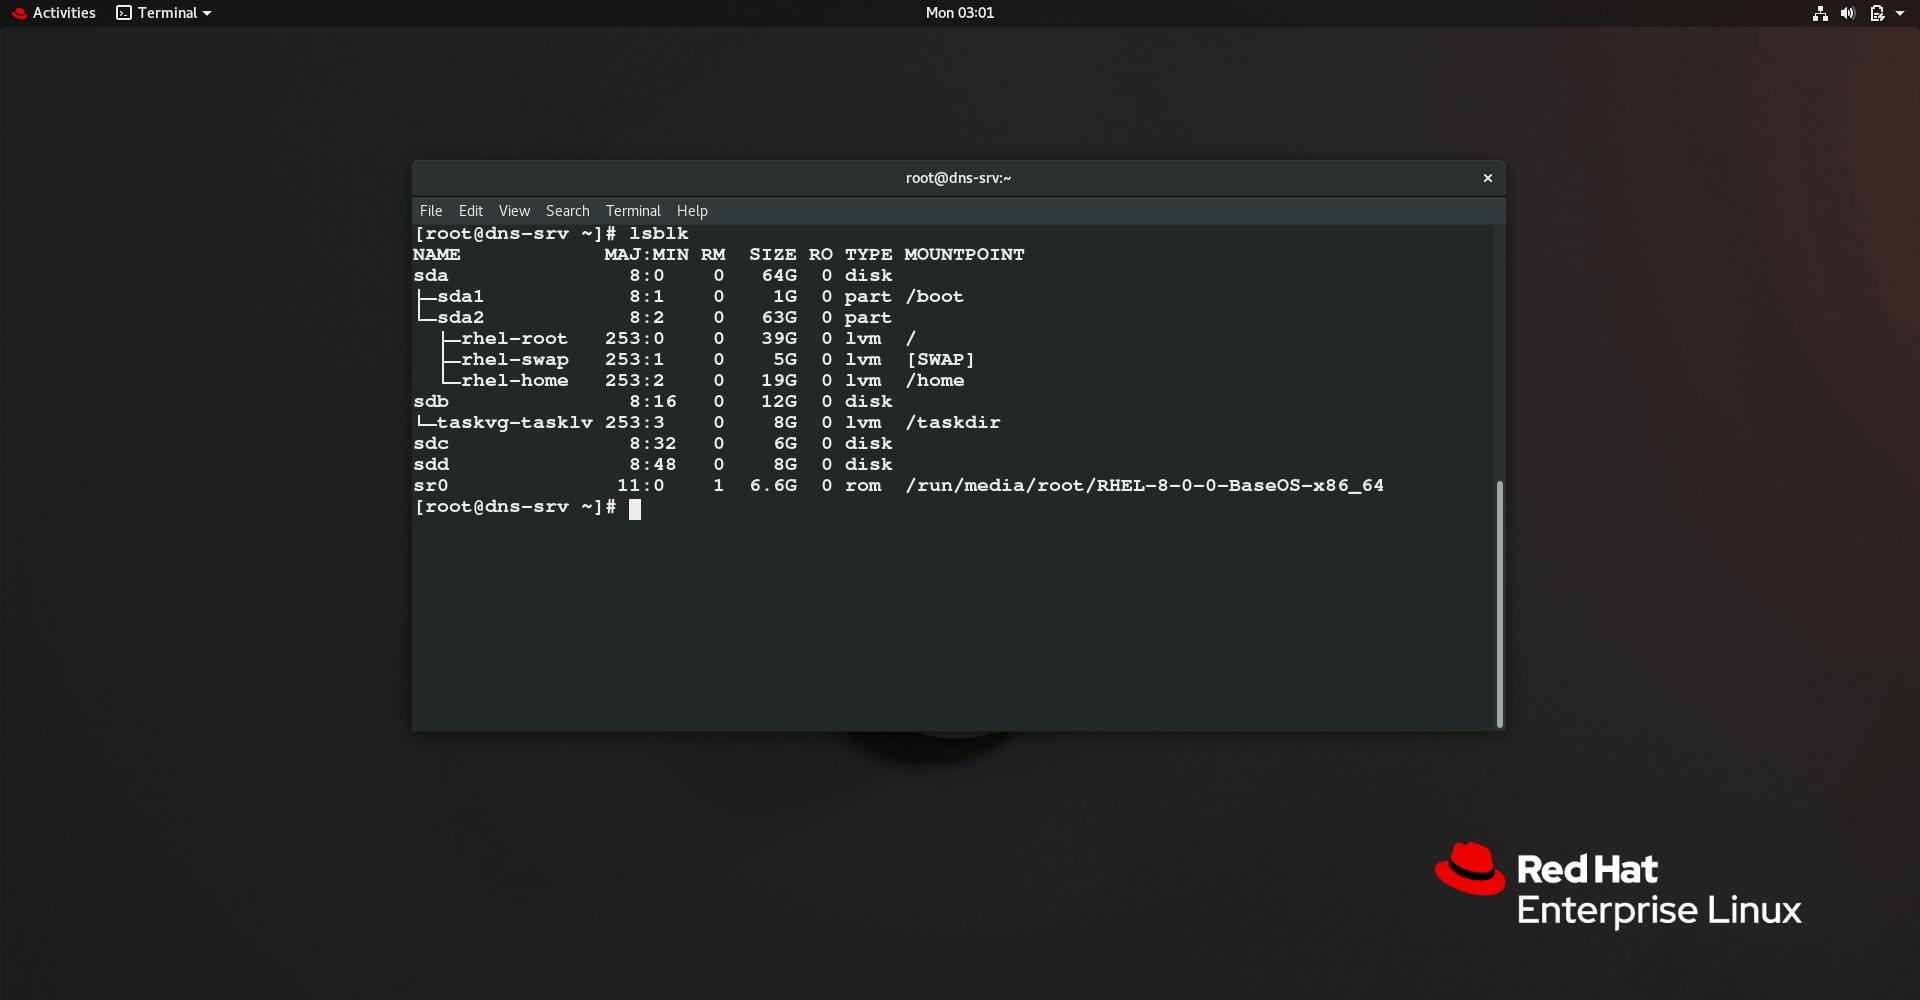
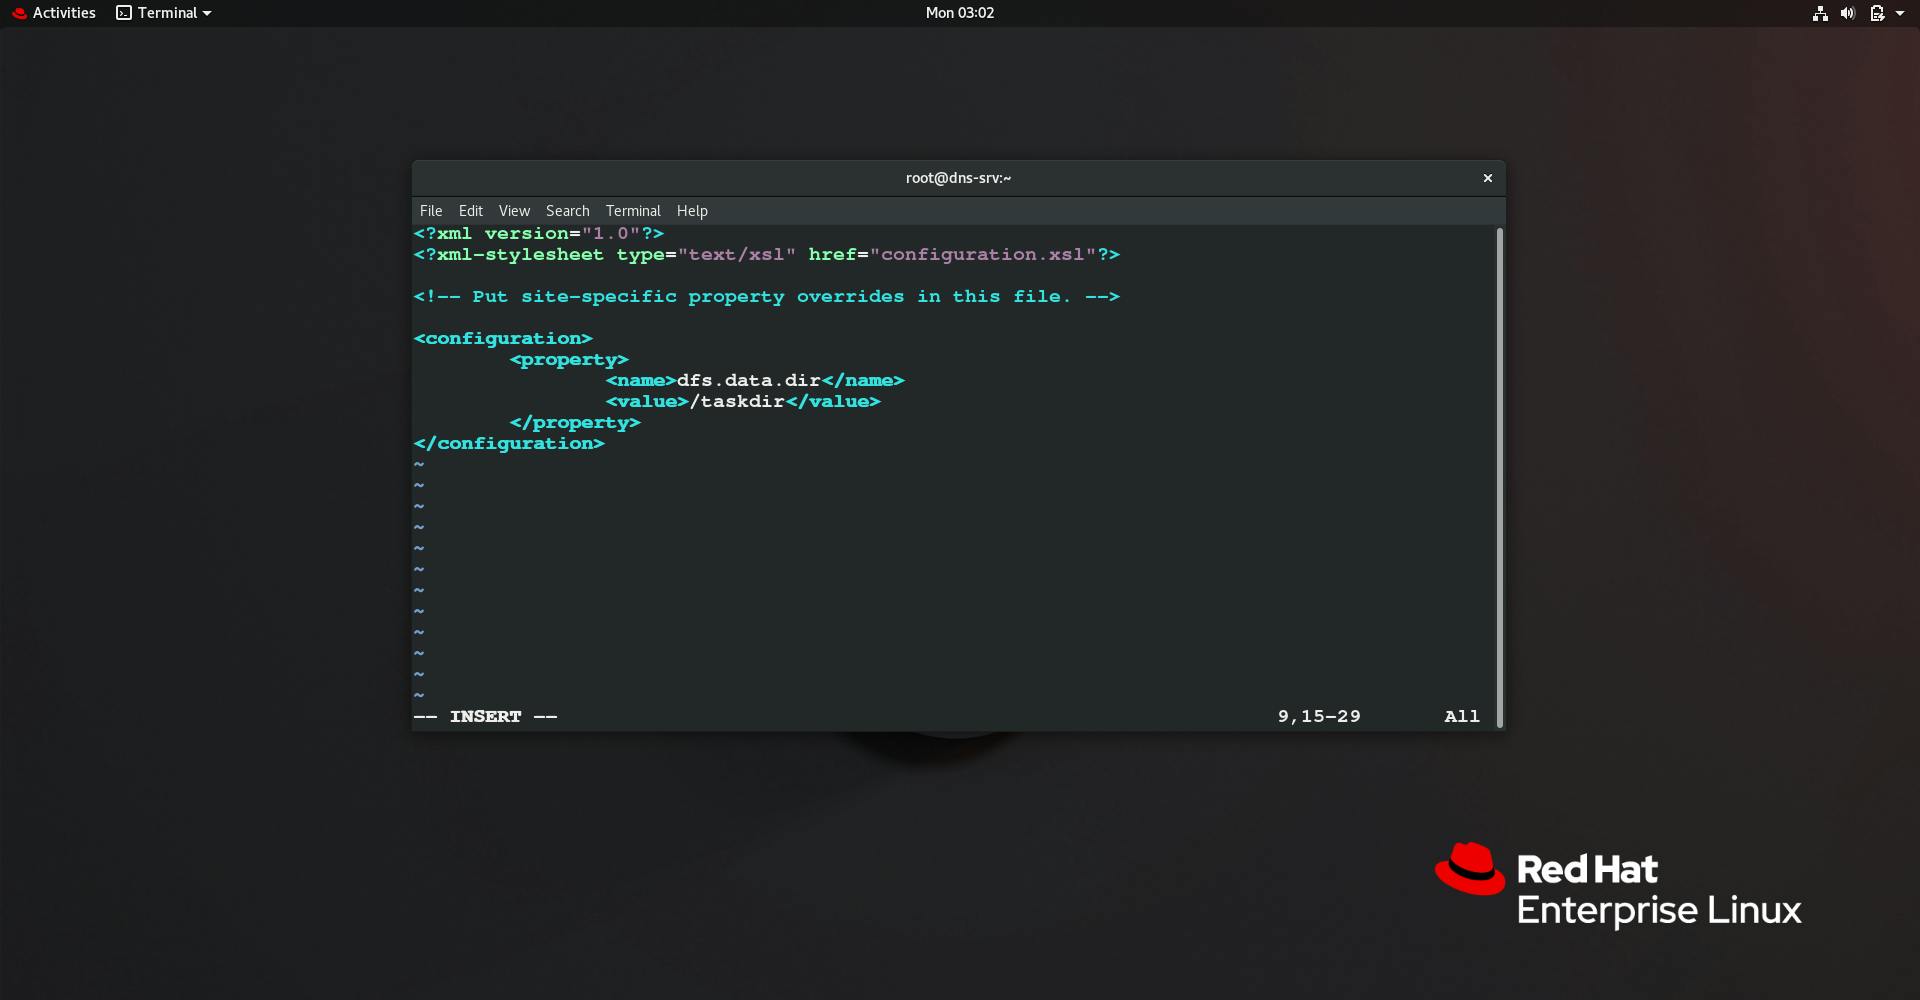
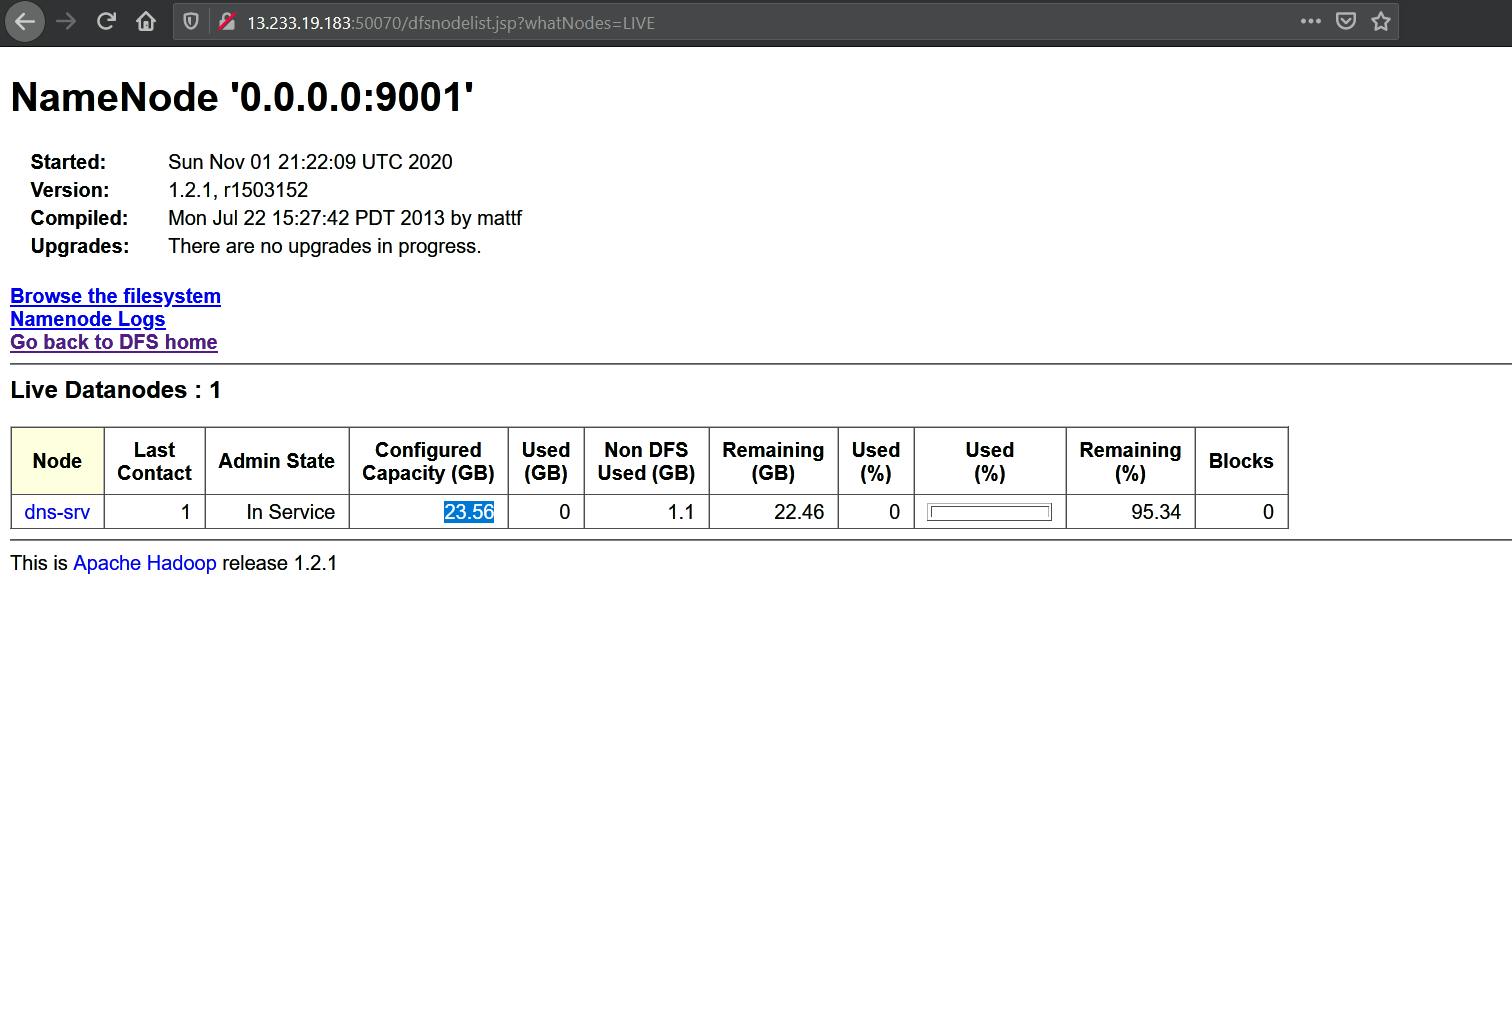
Now to use this in Hadoop we configure this machine as a data node and use /taskdir as data node directory for Hadoop.


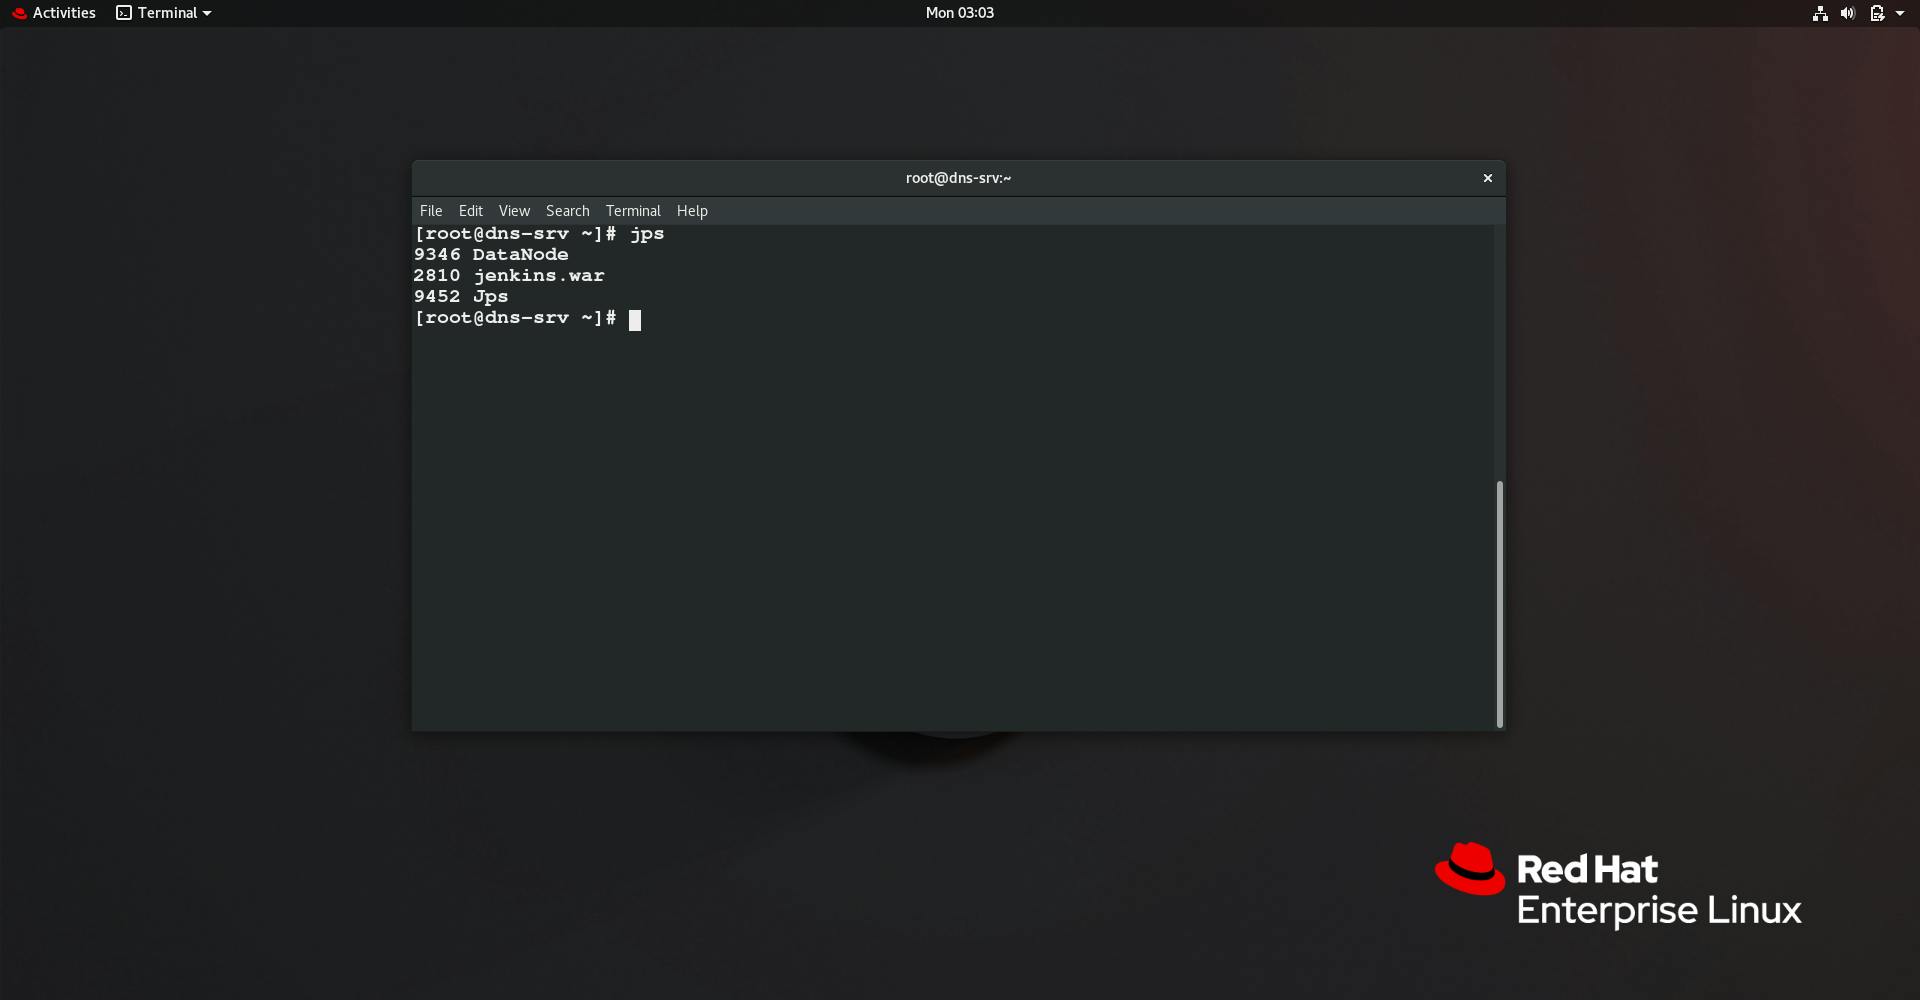
This sets up our data node now lets check.
Now let's increase size dynamically. Here we add a new device to increase the size /dev/sdd
- Create Physical volume
pvcreate /dev/sdd

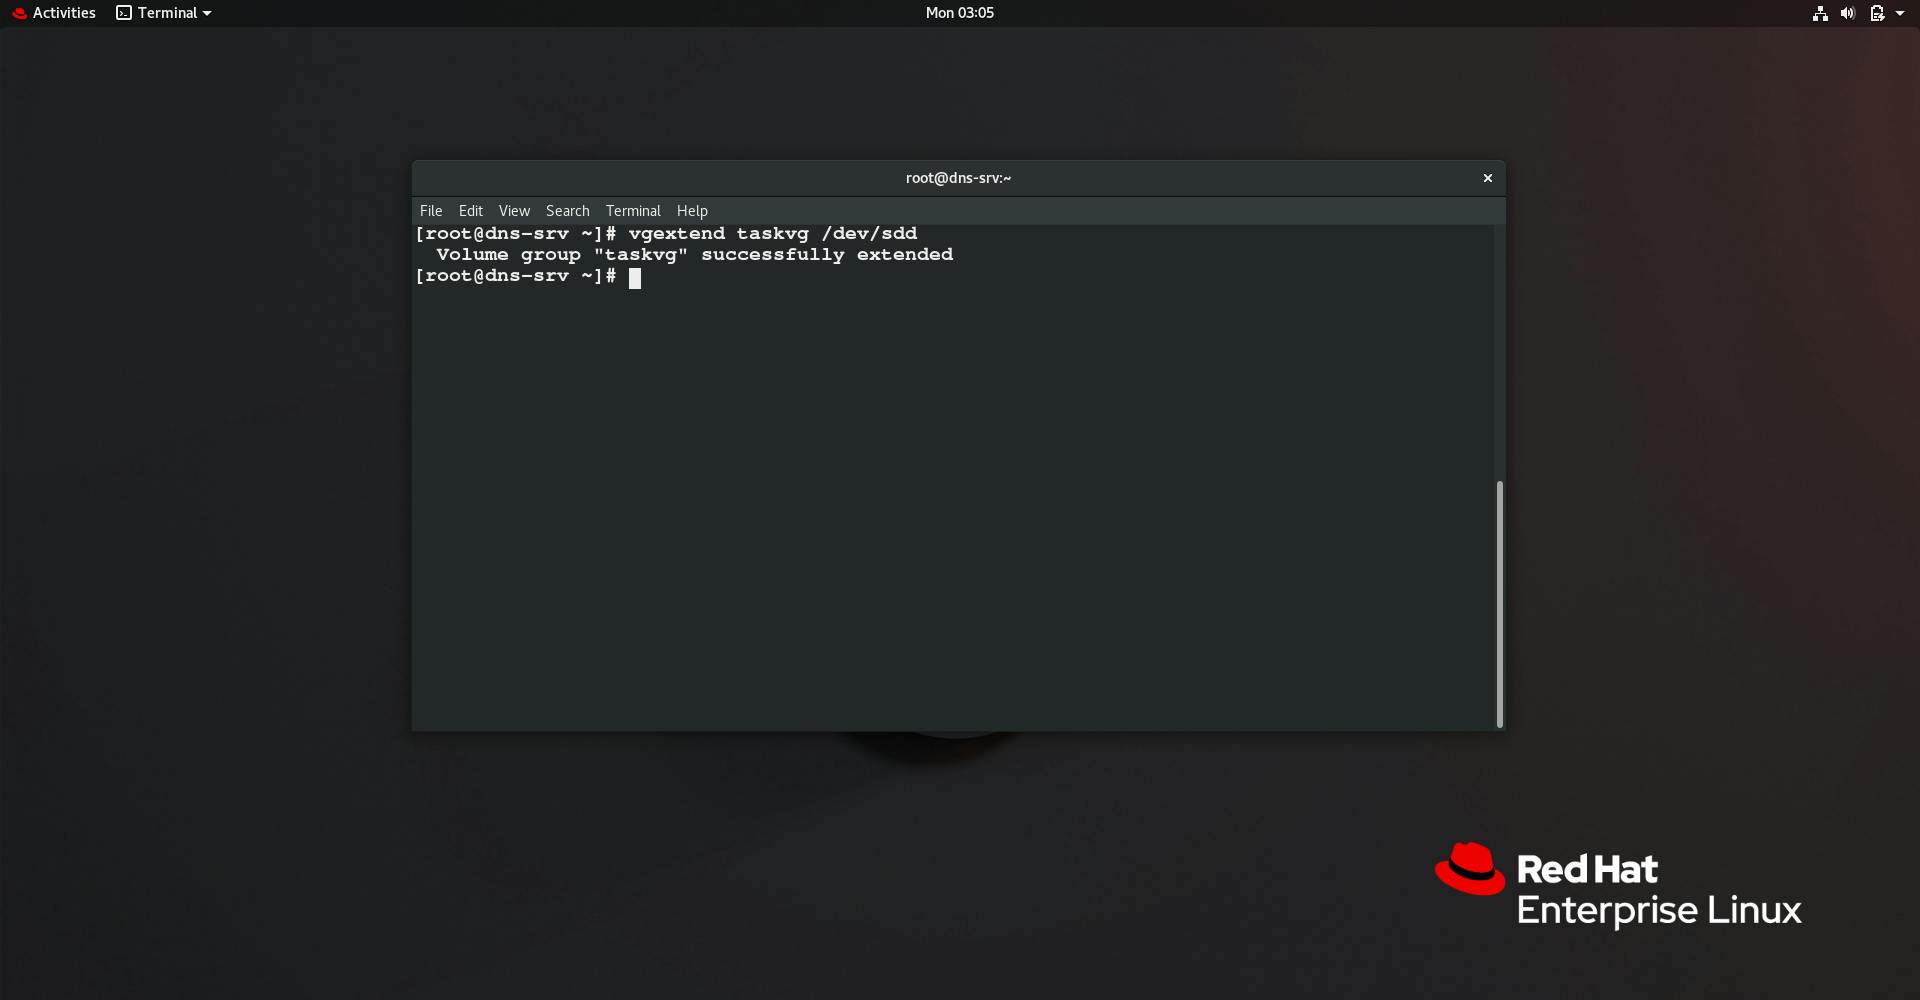
- Extend Volume Group Now here comes the main part.We need to extend the size of pre-created Volume Group i.e. taskvg because our Logical Volume takes storage from Volume Group and if it has no storage then LV can't extend the size. To do this we use vgextend command
vgextend taskvg /dev/sdd
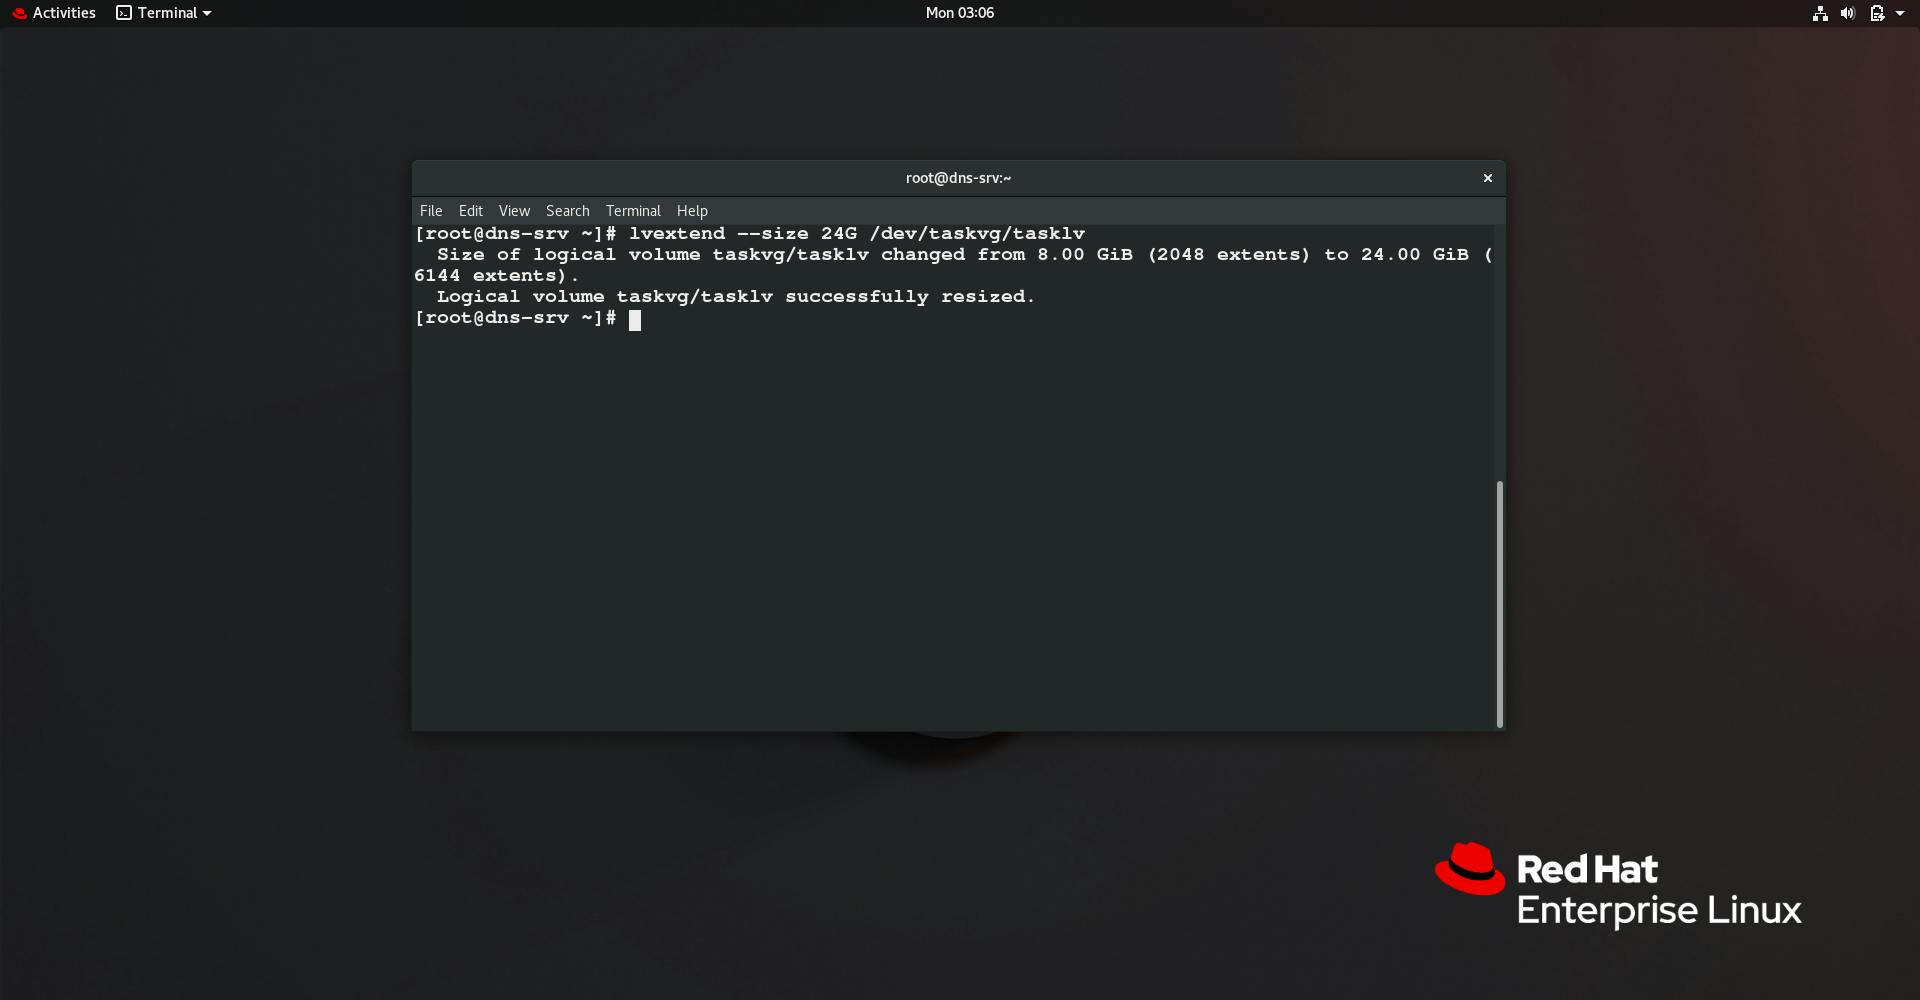
- Extend the Logical Volume
Now time to extend the logical volume.
lvextend --size 24G /dev/taskvg/tasklv
Now we have increased the partition size but we have to resize the file system for it to work. So here resize2fs command is used.
resize2fs /dev/taskvg/tasklv
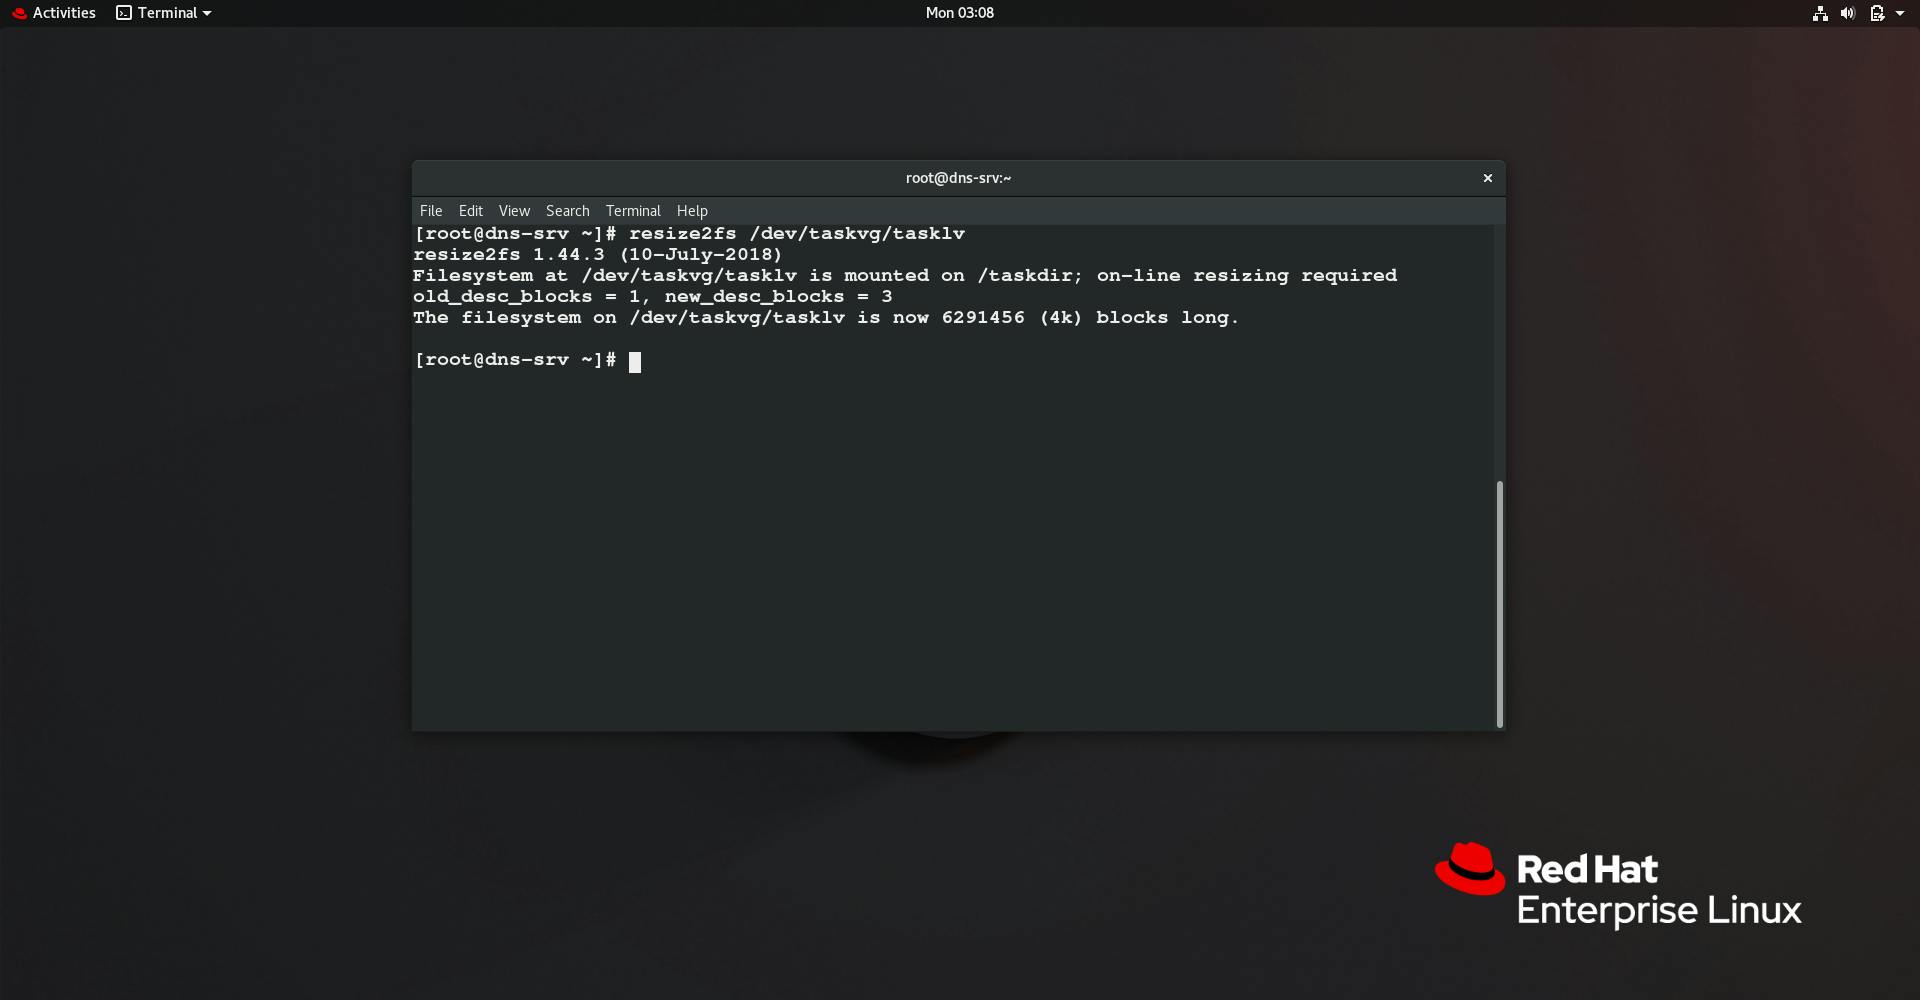
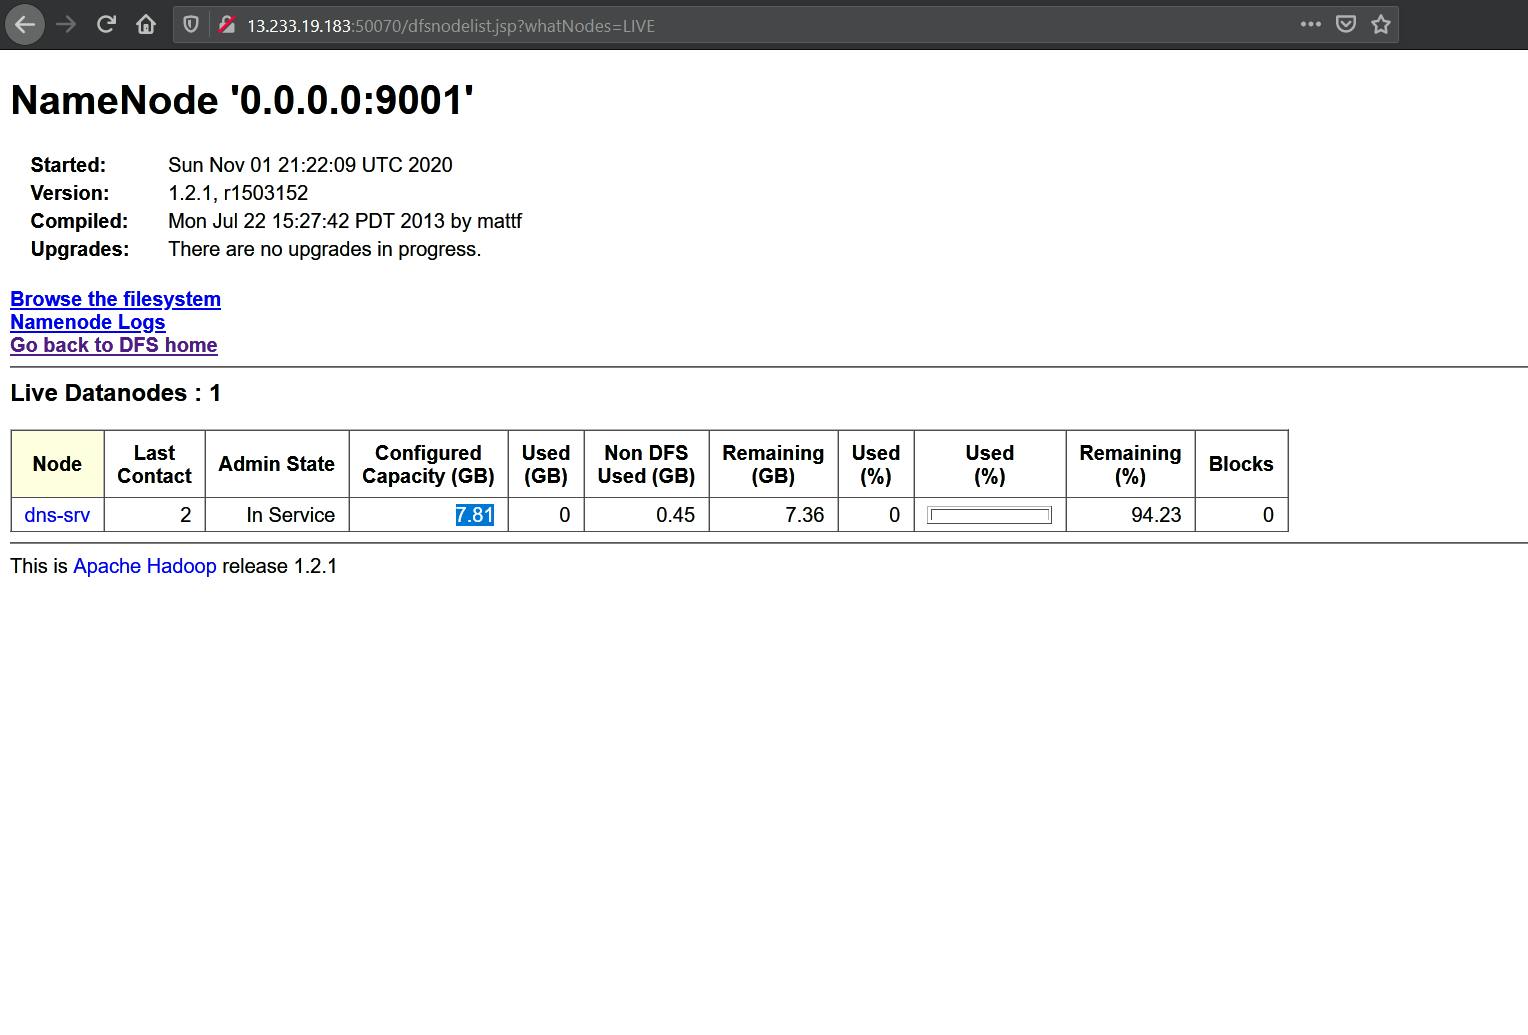
Now let's see the results.
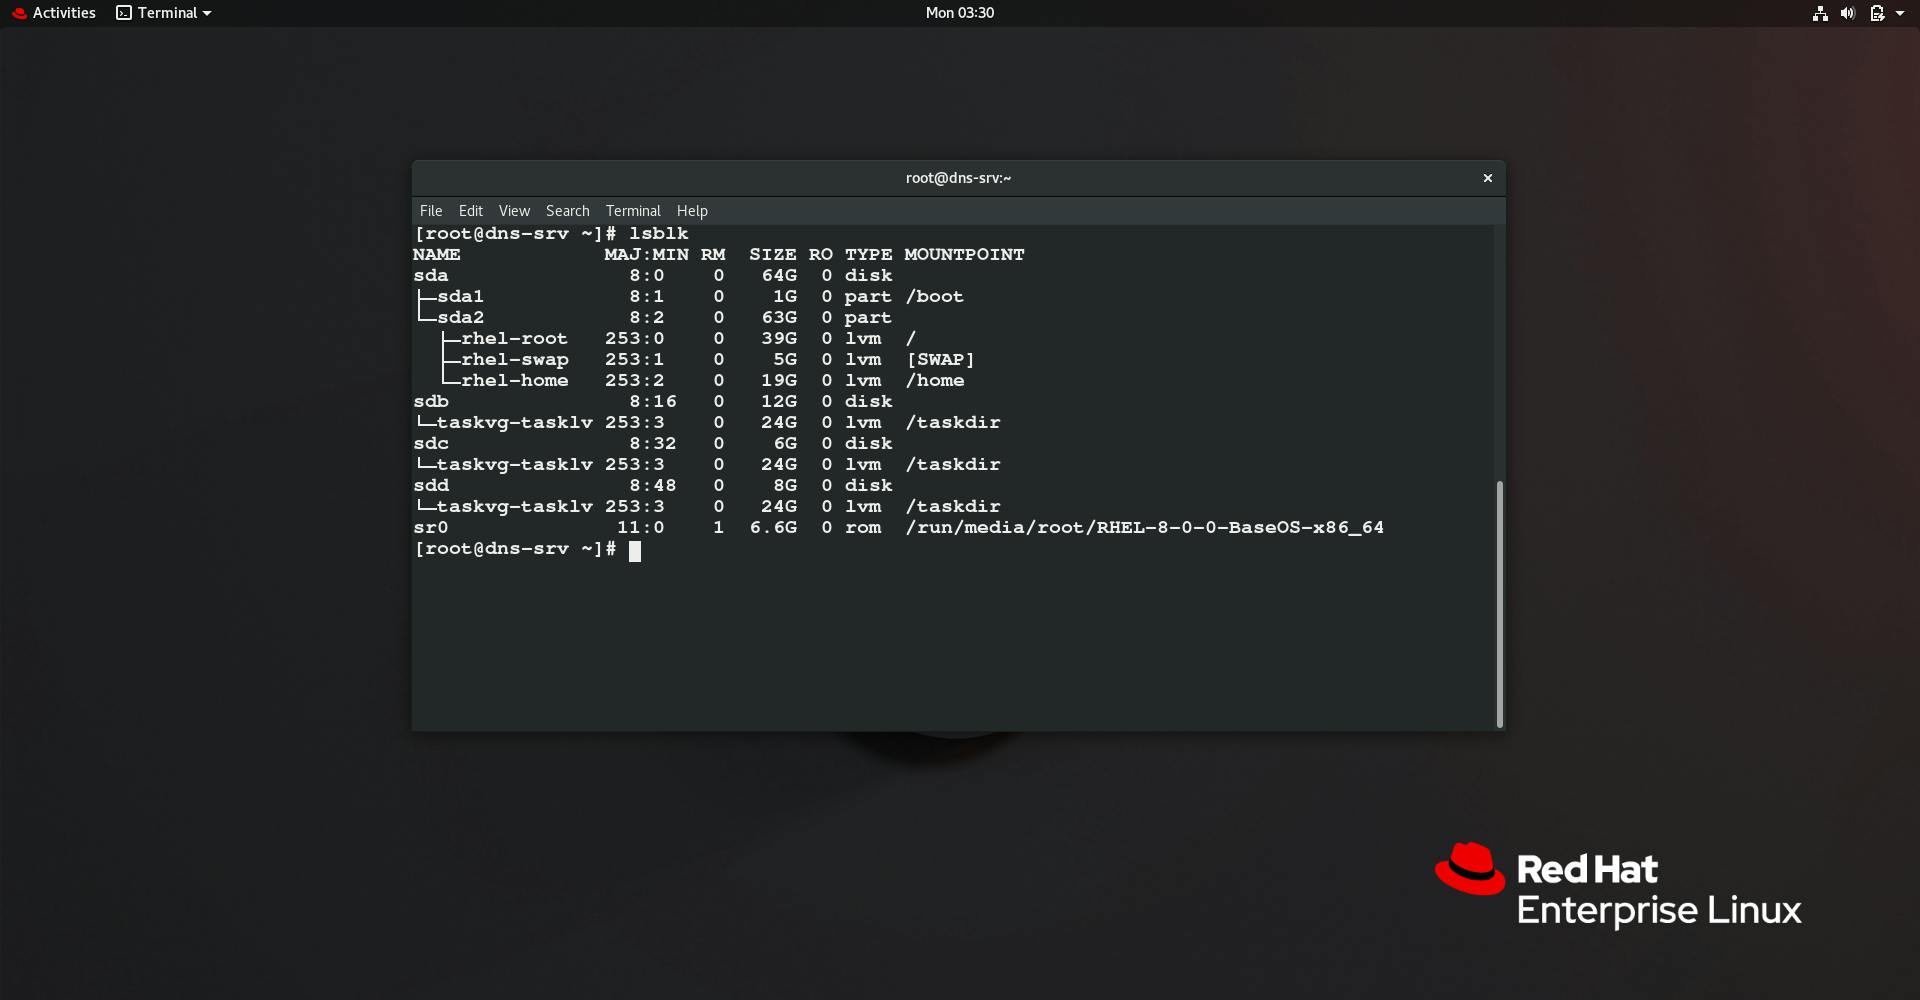
As you can see the size has been increased on the fly without having system down or anything like that.
Some Things to keep in mind
I have learned a few things that can make logical volume management even easier than it already is. Hopefully, these tips can prove of some value to you.
- Use the Extended file systems unless you have a clear reason to use another filesystem. Not all filesystems support resizing but EXT2, 3, and 4 do. The EXT filesystems are also very fast and efficient. In any event, they can be tuned by a knowledgeable sysadmin to meet the needs of most environments if the defaults tuning parameters do not.
- Use meaningful volume and volume group names.
- Use EXT filesystem labels.
This completes our this blog. Thank you for reading and keep grinding :)